Ever opened a can of food and realized you won’t finish it in one go? Don’t worry-there’s a smart and simple way to reseal it using something you already have: the can’s own tab!
This quick hack helps prevent spills, keeps the food fresher for longer, and is perfect for storing leftovers in your fridge without needing extra containers. In this guide, we’ll show you exactly how to reseal a food can using its tab in under 30 seconds.


Why Resealing Matters
- Preserves freshness – Keeps food from drying out or absorbing fridge odors.
- Saves space – No need for bulky storage containers.
- Eco-friendly – Reduces plastic and foil waste.
- Convenient – You can open and close the can multiple times.
What You’ll Need
You don’t need any tools! All you need is:
- An opened food can (preferably one with a pull-tab lid)
- The original tab attached to the lid
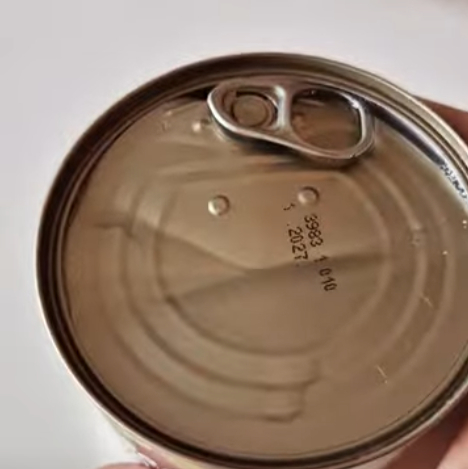
Step-by-Step: Resealing a Food Can with Its Tab
- Finish pouring or scooping out what you need from the opened can.
- Do not throw away the lid! Make sure the pull-tab is still attached to it.
- Flip the lid upside-down and align it back into the top of the can, gently pressing it into place.
- Use the tab to fold the edges of the lid down into the inner rim of the can, applying light pressure with your thumbs.
- Once snug, rotate the tab slightly to “lock” it in. The pressure will hold the lid in place, creating a temporary seal.
That’s it! The can is now resealed and ready to go back in the fridge or pantry.
Pro Tips
- If the contents are liquid-based (like soup or beans), store the can upright to prevent leaks.
- This method works best with cans that have smooth inner rims – avoid sharp or jagged edges.
- Label the lid with the date it was opened for safe food storage.
Conclusion
Learning how to reseal a food can using its tab is one of those small tricks that can make a big difference in your kitchen. It’s fast, effective, and saves you from using unnecessary plastic wrap or containers.
Whether you’re saving half a can of beans or preserving some dog food for later, this hack is a must-know for every home cook and practical thinker.
Watch the Video Tutorial
Still not sure how it works? Watch our step-by-step demonstration below and see this hack in action: